Wednesday, November 25, 2015

My Thanksgiving Table

Hello my dear friends,

I cannot believe that Thanksgiving is Tomorrow!!! Time is sure flying by and before we know it the year will be over.

On Monday I stayed home and since I was caught up with laundry and other chores (yeah me!) I decided to play in my dining room.

One of my favorite things of hosting is to decorate and to set the table for it.
Although I will not be hosting the actual Thanksgiving fest on Thursday, I will be celebrating Thanksgiving at home over the weekend with my husband and kids.

Instead of using a table cloth, I opted for a runner, and six individual place mats. They all came from Spain with me thru the years.

As I said I had some time on my hands today, so I  actually set two different tablescapes.

For the first one I chose an antique European dough bowl filled with pine cones, small white pumpkins and bittersweet branches, that I found while walking around my neighborhood, as my center piece. I also use golden coasters for the plates and my fall dinnerware.


 Then I remembered I have some beautiful Turkey plates from Pottery Barn, and what a better time of year to use them than Thanksgiving, right?


I loved the result, it looked beautiful. However, I have a massive kitchen island that I also like to have a center piece for, the big dough bowl was perfect for that job.  
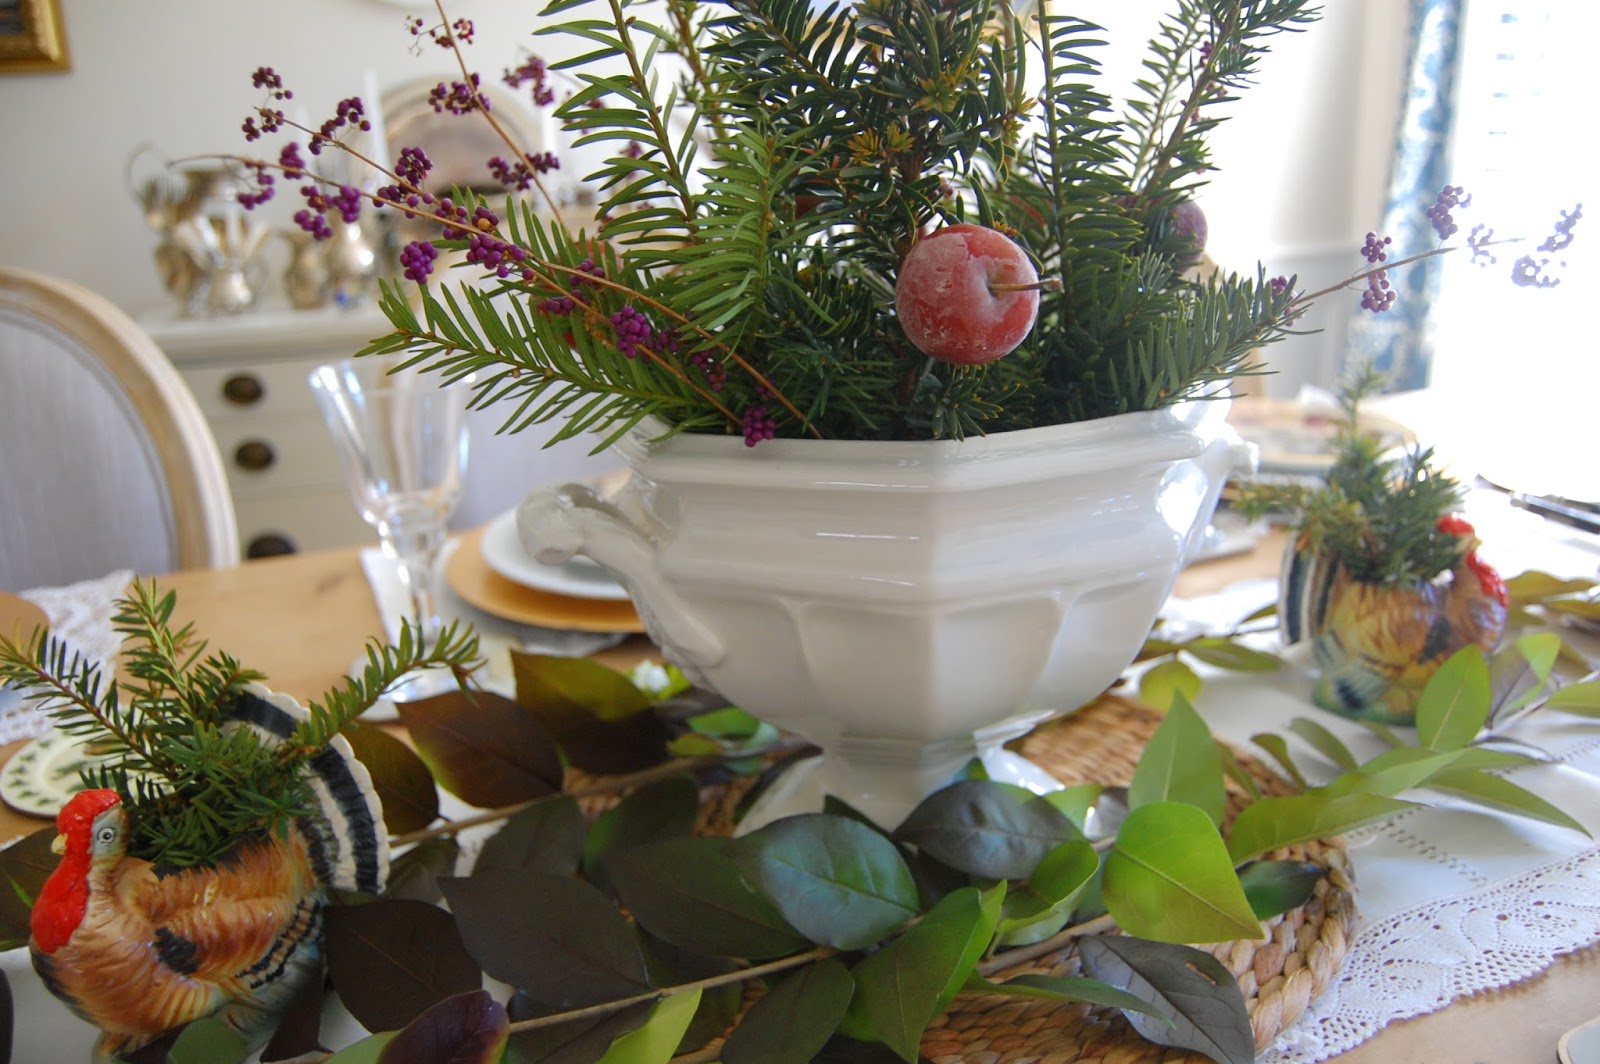
For the dinner table I ended up choosing an antique Ironstone tureen filled with greenery from the yard with tiny red apples for a pop of color here and there. 


Since the runner was white and the tureen was white also, I place it on top of a round woven straw rattan place mat, to make it pop from the table, I added some branches, again from my yard, and a couple of vintage turkeys to set the gobble gobble mood! LOL!! ;)


Mmmm, I cannot wait until tomorrow to see my family and to enjoy a delicious meal. I am thankful for so many things one in particular is this blog, I really enjoy to sit and write and document my passion and love for decor and most importantly YOU, for stopping by and coming and visiting and reading about my adventures in home decor, for your sweet comments, for being there, thank you so much from the bottom of my heart! 
I wish you all a very happy Thanksgiving!
XOXO


Parting with:


Friday, November 6, 2015

A Fall Wreath

Hello my dear friends!

I cannot believe how long I've being gone.

I didn't fall off the face of the earth, LOL!! Life simply happened and as soon as summer arrived and the kids were off from school, there wasn't a second or quiet moment around here to sit down and write.

We had such an amazing summer weather wise, and after the brutal winter we had, we pretty much spent the days at the pool or the beach. 

Since I left it at the Spring Wreath, today I would like to pick it up with my fall wreath. 

I loved the spring one so much that I decide to go for the same thing but with a fall look.

I purchased the wreath at my local thrift store for about $3 and a bouquet of fall flowers at Walmart.


All I did was take the bouquet apart and insert each stem into the wreath. 


Easy pease!!


I'm so happy to be back,  I hope you enjoyed my fall wreath. I'll be back soon!!

XO
Cristina


Tuesday, May 26, 2015

A wreath for my front door

I have been seeing beautifully decorated front doors with gorgeous wreaths for the Spring since early March. Unfortunately I was buried in snow back then and nothing seemed Spring like around here.
I know I am behind the ball game here, but finally last week I had some time to dedicate to my front door.
I went to Michaels and I got  a wreath for $16.00, I knew if I hunted around the thrift store for a while I could of done better price wise, but I didn't want to get to this project at the end of the summer!! :)
One of my favorite flowers are peonies. So I got a few of silk ones at Michaels as well. I guess being late in the season had some benefits as they were 60% off!! :)


 The process was very easy. I just inserted the flowers steams into the wreath, and tied them up on the back with some twine.


And there you have it. It was very easy!


 I added a couple of flags for the Holiday. 


I have no green thumb what so ever, so my ferns are looking very sad. I have been feeding and watering them religiously in hopes they will come back!

Thanks so much for stopping by! I hope you enjoyed my project! 

XOXO


Sunday, May 24, 2015

Happy Memorial Day!!

Hello!!
I hope y'all are having a fabulous Memorial Day Weekend!
We had dinner with some friends on Friday, did some yard work on Saturday and enjoyed our first beach day on Sunday.  The weather was beautiful and the beach was just perfect.
We are very lucky to live only 15 minutes from the beach, so we go very often. We brought our portable grill and cooked dinner at the beach.


Our beach has two parts. One with a parking lot where all vehicles have access to.
But if you have a 4x4 you can continue to drive farther down where there is more beautiful beach.


You need a four wheel drive because there is no road. It is just a path of sand. 


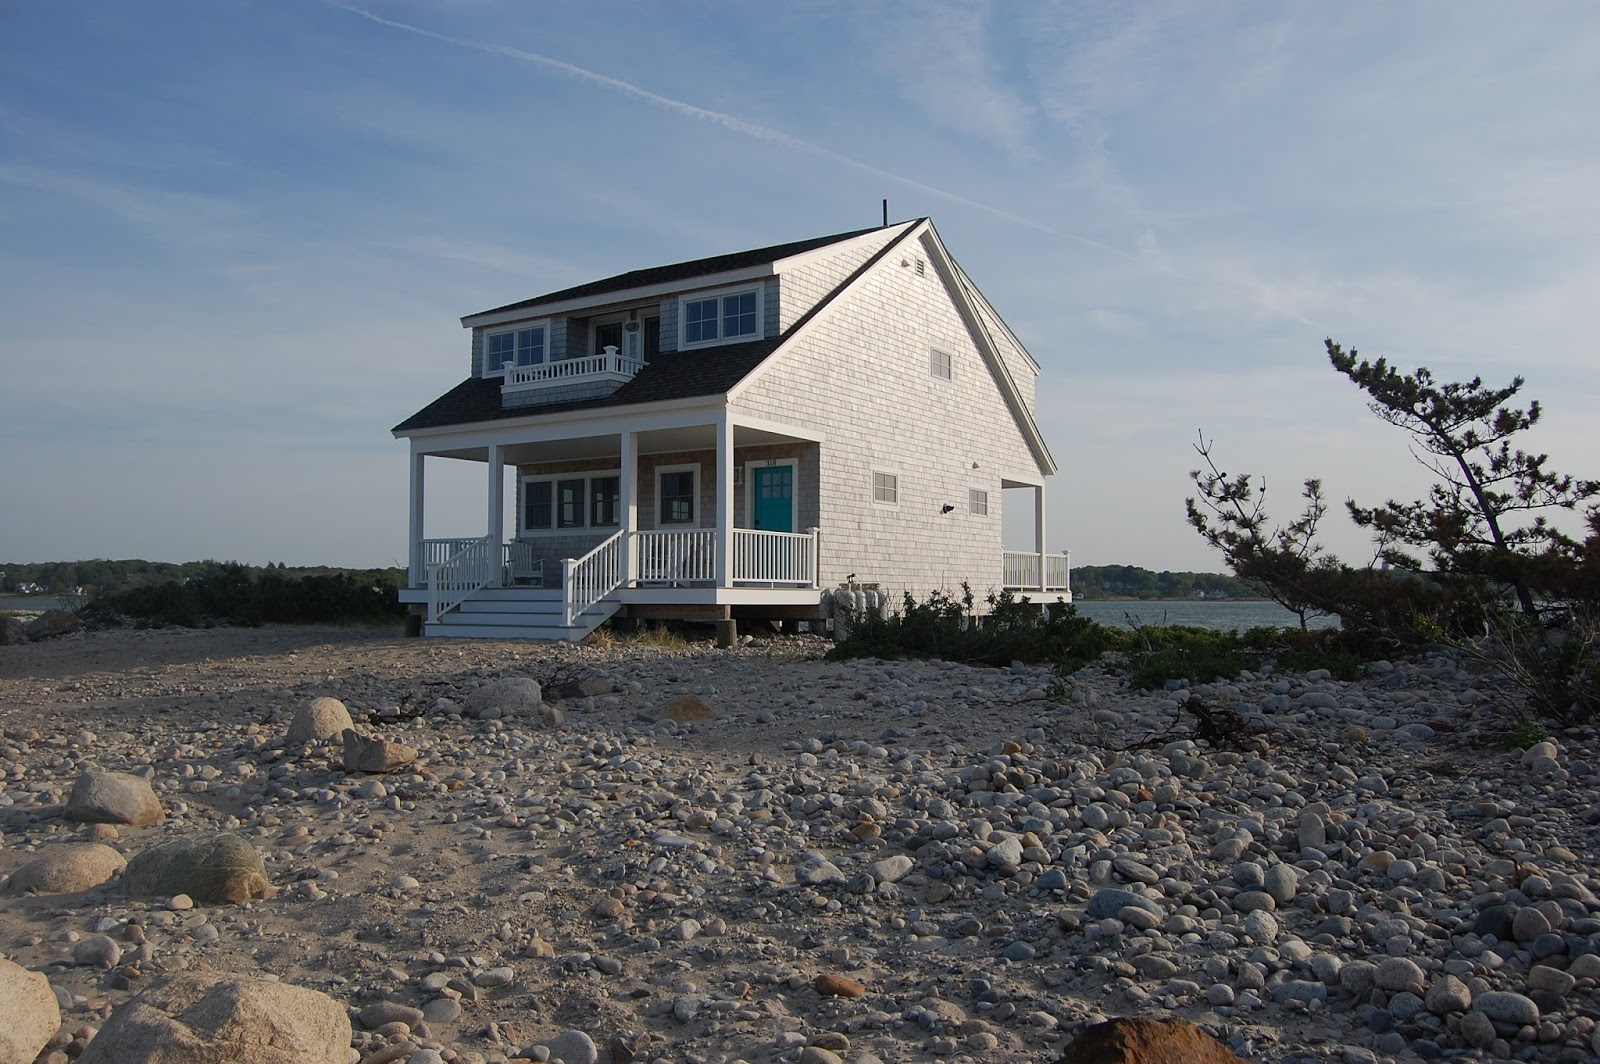
There are some beautiful summer houses along the way. 


This one is my favorite and I call my "my house" :)


Isn't it gorgeous?


Dinner was delicious. Simple hamburgers and hot dogs taste so much better at the beach!!


The kiddos enjoyed their dinner in the back of the car. 
And the adults had a little holiday flare! 


Thank you so very much to all the amazing veterans who served our country! You are true Heroes. 

Happy Memorial Weekend to y'all!!


XOXO

Cristina


Friday, May 22, 2015

A quick project!

The stomach bug has hit our home and my two boys took turns being sick. Yesterday everybody was healthy again and back to school, so it was my first free morning in a while!!

I wasn't planing on doing this project but tiding up the laundry room it hit me and I got to work!!

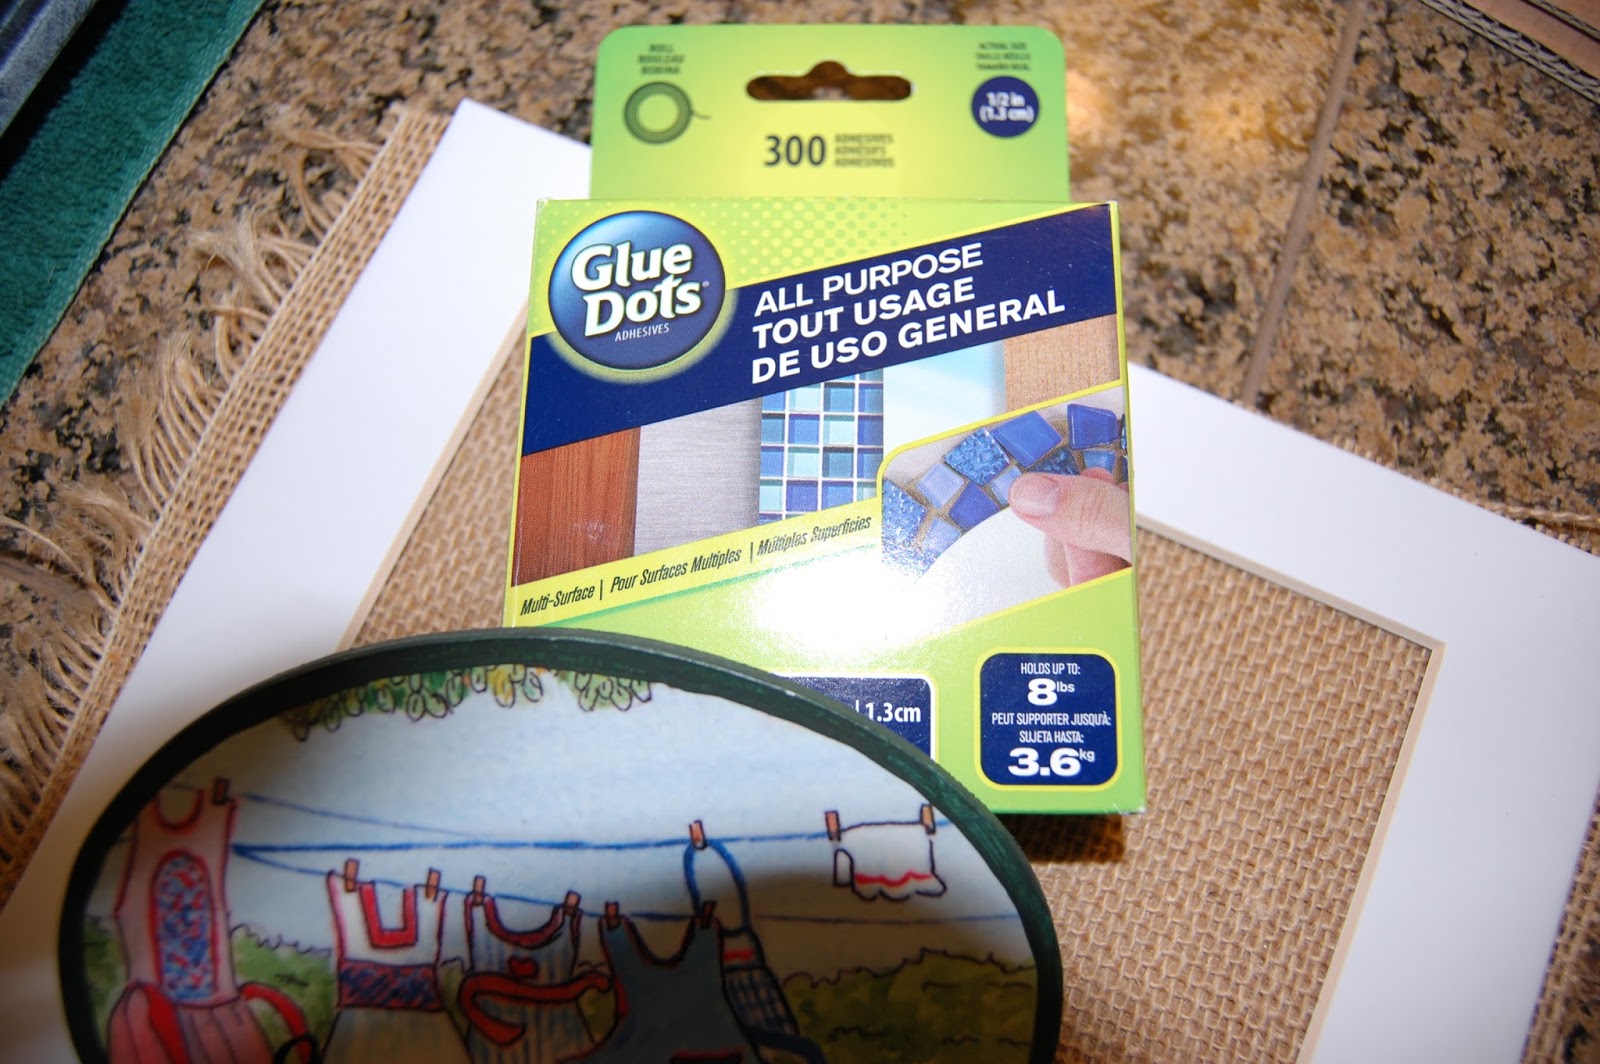
I had this two small wooden signs, I must of buy them in Spain (since they are in Spanish) who knows when, they say "Laundry room" and "Iron" They came with a little glue sticker in the back to be glued to the wall.
I had them on top of other laundry prints for a while. But they always looked kind of lonely and sad. Too small... A few months ago we got some pedestals drawers to put under the washer and the dryer. Now with he washer and dryer being so high I had to move the pictures up and there wasn't room for this two signs to be hung above those pictures any more.


I have quite a collection of frames in a box in my garage. I dig one out that will work great to frame those two signs together. Look and me and hubby back in the day! That was his 40th birthday cursing to Mexico!


I dry brushed the frame with some blue paint from a Benjamin Moore sample color that was in my paint stash. 

I lined one of the card boards that came inside the frame behind the picture with left over burlap. I sprayed some fabric glue to it to keep the burlap in place.  You can see some of the glue thru the burlap now, but once it dries and the signs are in place, you cannot see it anymore.


I apply some extra glue dots to the back of the signs for more support and used the mat that came with the frame.


And there you have it!


A very easy and quick project on a wimp!! 

Thanks for visiting! 
XOXO

Cristina