Tuesday, January 26, 2016

Very Easy Art Project

I love vintage fern art work. I had in mind to make my own, so last summer I cut some ferns around my yard and placed them in between newspaper pages and put them underneath a heavy wooden box for about a month or so to let them dry. 
I never got around to do anything with them. I was planing on, at some point,  mode podge them to a piece of paper and frame them. 
I had framed vintage postcards of old Plymouth, my home town, hung in a narrow wall as you walk in my kitchen thru the garage, so this is what I see everyday as I enter the house. 
To be honest, they never made me jump out of my seat, so I am not even sure why I never replace them for something else. 
The other day I was cooking dinner when I had an uh-ha moment and the light bulb went on. All the sudden it hit me what to do with those postcards and the ferns!!!
I turned the postcards around, meaning, I place the back of the postcard, the part where you write, to the front, and I just placed the ferns on top of it, so the postcard is like the background. And the actual picture of the postcard is facing the wall now, so you cannot see it. Makes sense? I think it sounds way more complicated that it actually was!
Here are some pictures to help you understand what I did. 


So this is how the postcards looked:
(I took this picture at night, may be that's why it looks so yellowish) 


And this is how they look now:


Cute, huh? It only took a few minutes but I think it made a big difference! I love how they turned out. 
I hope you enjoyed my easy project!! Thanks so much for visiting and have a lovely day!! :)

Sharing with:


Monday, January 25, 2016

Clam Chowder

Hello my friends!
How are you doing today? I hope you are staying warm on this cold Monday.
On Saturday we had the first big storm of the winter. We got about 8 inches of snow. Brrrr!!!! Which makes perfect weather for clam Chowder!!


We had some friends over on Sunday to watch the Patriots game, so I made a big batch.
This is actually an award winning recipe. A friend of mine used to participate in the Santa Cruz Clam Chowder festival and his "Chowdah" won a few times!! I would like to share it with you today, as it is very easy and really delicious!

The Ingredients you will need are:

  1. 1/2 Lb. bacon cut in 1/2" dice.
  2. 5 medium red potatoes, unpeeled, cut in 1/2" cubes.
  3. 1/2  large green bell pepper cut in 1/4 "dice.
  4. 4 green onions, sliced length-wise and chopped in 1/4" dice.
  5. 3 celery stalks, sliced length-wise and then into 1/4" dice.
  6. 3 cloves garlic minced fine.
  7. 1 8 oz. bottle clam juice.
  8. 1 8 oz. container frozen fish stock (optional) or a second 8 oz. bottle of clam juice. 
  9. 1/2 cup water.
  10. 5 tsp. dry cooking sherry.
  11. 1/2 tsp. white pepper.
  12. 2 tsp. Worchester sauce.
  13. 1 tsp. Thyme.
  14. 5 drops Tabasco sauce.
  15. Roux ~ 4 TBSP. butter cooked over medium heat with 4 TBSP flour, about 5 minutes, whisking constantly, then cooled.
  16. 3 6 1/2 oz. cans chopped clams with juice.
  17. 2 cups cream or 1/2 & 1/2 or milk (depending on desired consistency, I use cream)
Cooking directions:
Saute bacon until browned. Meanwhile, make roux and then set aside to cool. 
When bacon is done, drain and set aside, reserving the fat. In a clean stock pot or large kettle, heat reserved bacon fat over medium high heat and sauté green onions, bell pepper, celery and garlic until just softened ( about 5 minutes). Add bottled clam juice, fish stock, if used, white pepper, Worchester, Tabasco, Thyme and water. Bring to a boil. Reduce heat and simmer gently for 5 minutes to blend flavors. Add potatoes and cook at a simmer for another 5 minutes or until they are just tender but not too soft (they will continue to cook when cream is added). Return pot to a boil and pour roux into pot in a thin steam, stirring constantly. When mixture thickens significantly (it will take only 2 to 3 minutes), add clams, Sherry, bacon and cream. Allow soup to remain just below boiling point for a few minutes (no more than 5) to thicken slightly and blend the flavors, but DO NOT BOIL. If not serving immediately, remove from heat and cover until ready to heat through and serve.

Makes about 2 quarts, serving about 4 to 6. Serve in heated bowls with plenty of sourdough French bread and sweet butter. Enjoy!!


Sharing with:

Tuesday, January 19, 2016

A highboy for the boys

Hello!! How are y'all doing? It was excruciating cold today, first day in the teens, ouch!! We are expecting a big snow storm this weekend too. Looks like winter has finally arrived to New England!

Today I will like to show you a highboy dresser I bought for the boys room.
I found it at the Brimfield antique show back in September. It wasn't in the best shape, but I saw potential and much needed storage on it. 
It sat in my garage for about two months, I new its destiny was the boys room, I just didn't know what to do with it.
The beds and the dresser are blue, so I was thinking blue too, but something was stopping me. I needed time to think about it. I needed to wait until the piece let me know what to do and how to paint it. I know it sounds crazy, but sometimes I just need to be patient and wait, and listen... And finally one day Mr. Highboy spoke to me loud and clear and told me "No, I don't want to be blue, I want to be red!" Red??? I was kind of shocked, but I said, "why not?" The boys room has a lot of blues and reds, so yes! red sounds good!! So red it was. I used Emperor's Silk by ASCP. 
And I absolutely love the result!!


Here is how I started, some of the veneer was missing and it had a few boo boos here and there. 


Some of the decorative trim was broken, so I just remove it all together. 


It had this cute pearl design in the center of the bottom part. I decided to continue this design in the place of the trim. I found the half pearls at Michael's and just glued them in place. 


A couple of coats of paint, clear wax, and there you have it!!


Hope you enjoyed this highboy make over! Thanks so much for stopping by. Have a great day!!

Cristina


Linking to:


Thursday, December 31, 2015

Christmas Tour part 2 and Happy New Year!!

Yesterday I took you on a Christmas tour of my living room, kitchen, entry and powder room, you can see it HERE if you missed it. Today we can head upstairs and I will show you the guess room, kids room and my room. 

In the guess room I added a garland at the end of the bed and a couple Christmas decorative items to the empire dresser. 


Each kid's room got a little table top tree. The boy's one is decorated in red and blue. 


A HoHoHo pillow and some red deers sheets set a Christmasy tone!


Grace's tree is decorated in pinks and greens, a pink butterfly serves as a tree top! 


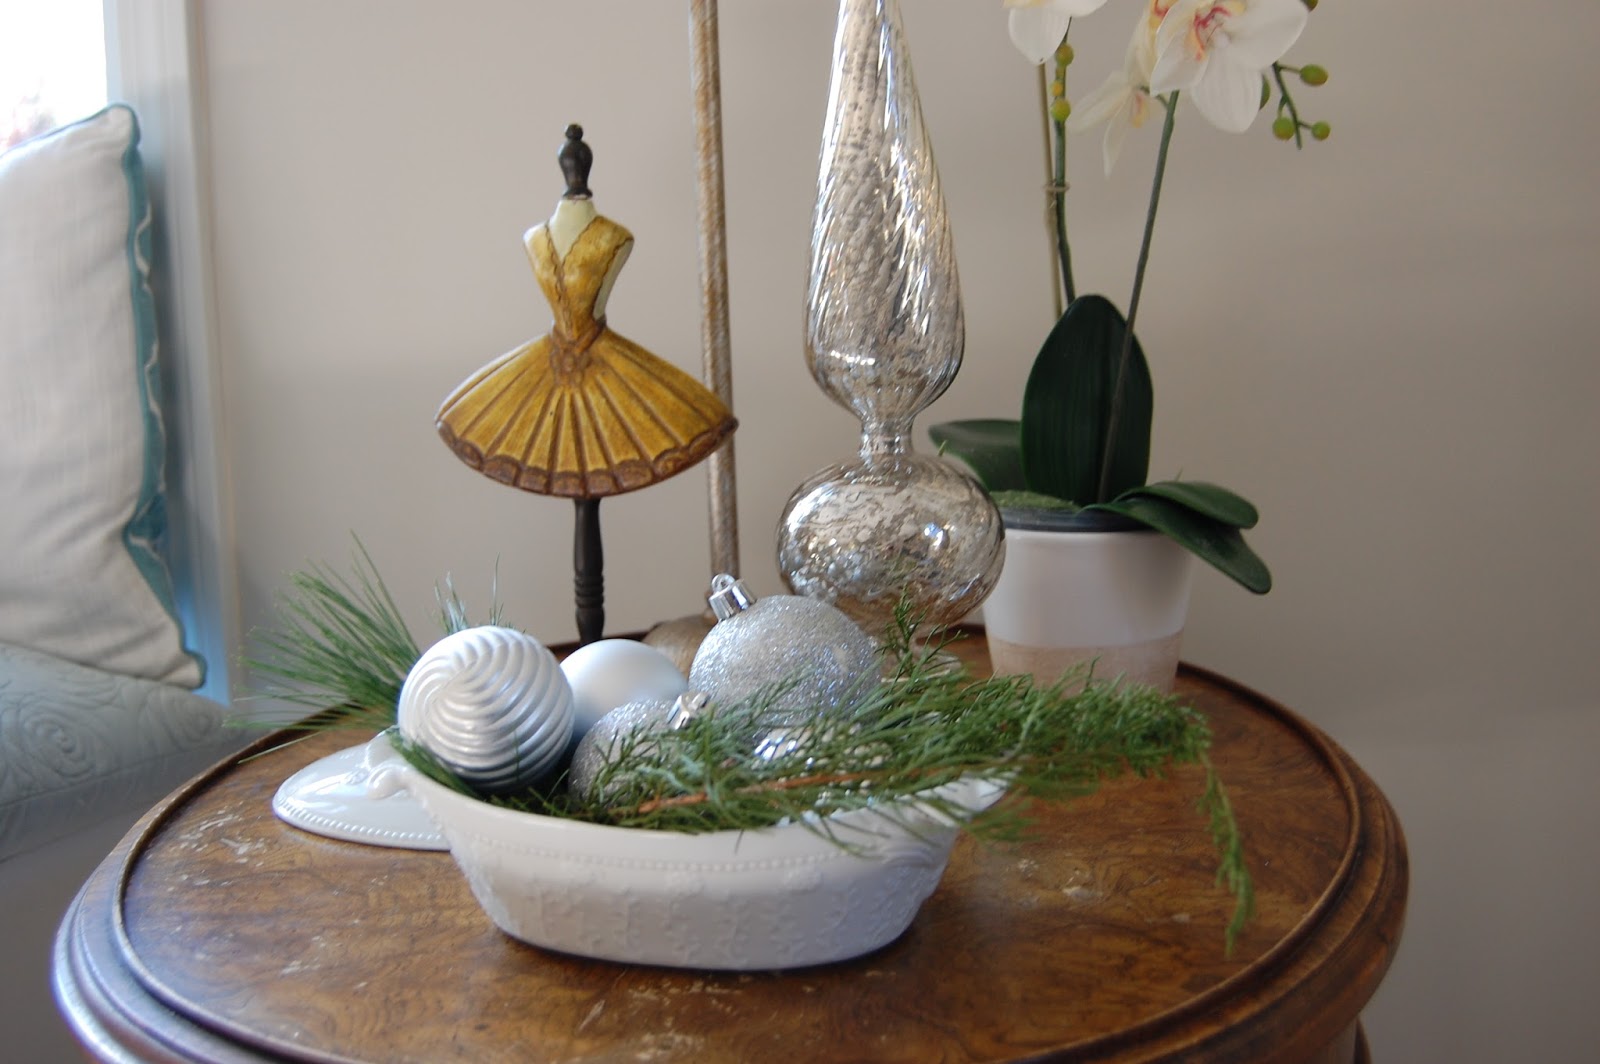
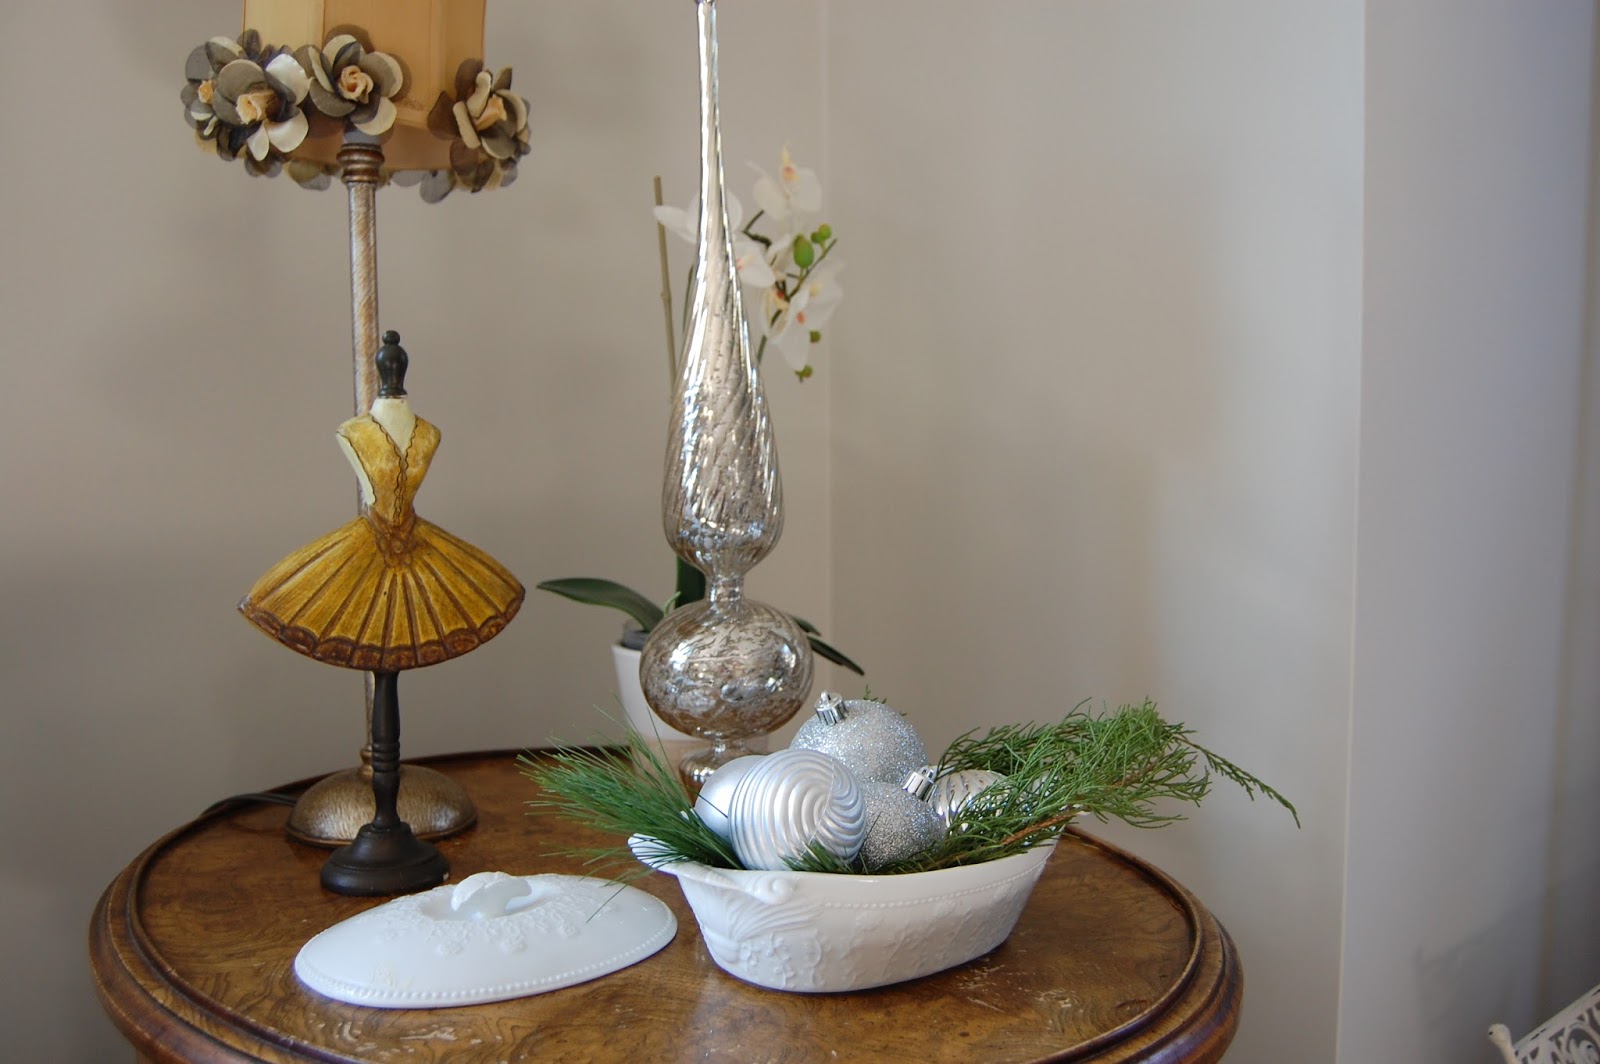
I keep things very simple upstairs and my room was no different. Just some greenery and pine cones from the yard in an antique ironstone chamber pot and some silver ornaments in an ironstone tureen. 


And there you have it! festive but simple!!

I cannot believe today is the very last day of 2015.
This was an amazing year!
2015 was my first year as a Bloger, and I have to say, how much I enjoy writing and showing you my decorating adventures! 
A few pretty unbelievable moments I had were when a few of my most favorite Blogers in the whole world featured some of my work in their Blogs. 
Marian, at Miss Mustard Seed featured my My dining room, and that put me over the moon!! 
Kim, at Savvy Southern Style featured a desk that I painted, and I needed to pinch myself a few times to realize I wasn't dreaming!
Martina, at Share your Style, a group of phenomenal blogers shared my family room and I just couldn't believe my eyes!
Elizabeth and Company also featured my dining room and my desk also was chosen by Something to talk about link party.
If you haven't visit this Blogs, you definitely need to go over and check them out, because they are so beautiful and such an inspiration!

My Blog reached to thousands of people in this past year and travel thru an incredible number of countries! 
I found that incredibly amazing as I always thought I was blogging for myself, my mom a a couple of friends!

 So Thank YOU so very much for stopping by and for visiting. It meant the wold to me! Please make sure to say hello when you are around I would love to hear from you!!

I know life gets in my way sometimes and it is hard for me to find the time and concentration to sit and write. But that is one of my New Year resolutions, to think more about myself and to find the time to do the things I enjoy the most. 

Happy New Year My friends I wish you the best in 2016!

XOXO
Cristina

Wednesday, December 30, 2015

Christmas Tour

Hello my dear friends! 
It is hard to believe that Christmas came and went. It seems like it was so much work, so much to do, so much to prepare and get ready for and it all happened in the blink of an eye! I feel like the whole month of December I was running around like a chicken without a head!! :)
I did took all my Christmas decorations down today, except the tree. We'll enjoy that for a few more days. 
Before everything came down I took some pictures to show you. 
I do have tubs and tubs of Christmas decorations, that by the way, were all cleaned out today and half of them went to Savers. Savers is a thrift store in my town where I donate all my unwanted items, and where I shop for other people unwanted treasures! and at the same time I am helping the Epileptic foundation. 
This year like last year, I used less Christmas decorations and more natural elements found in my yard. Such as evergreens and pine cones. 
So why keep so many things that haven't being out of the basement for years, right? that's my goal for the new year, out with the old, unused and unwanted stuff. My plan is to slowly by surely weed thru every closet, cabinet and drawer until I just have what I use and like and the rest can be donated.
Alright, I am loosing track here... without further adieu, like my buddy Chip says (I love Chip and Jojo, from Fixer Upper) let me show you my Christmas decor!! 

The first thing that went up, was the Christmas Tree. We put it up the weekend right after Thanksgiving!
I know it is very trendy the white or soft colors Christmas decor, but nothing says Christmas to me like red and green. So this year I went with red and green, vibrant and  cheerful!
I love trees decorated with a theme, but I have too many sentimental ornament to do that. I like to use all the ornaments that  tell a story or have sentimental value like the ones my little ones make in school. Last year I had a couple extra trees, one in my dining room and one in my kitchen and they were theme decorated, but this year I didn't have all that energy!!


So there you have it, jam packed with all sort of mis-matched ornaments! :)


To add a festive touch to the bottom of the tree, I like to wrap empty boxes like gifts!


The whole family gets involved and we all decorate the tree together. There for it looks like everything is being thrown at it, specially the bottom of the tree, where the little ones can easily reach!! ;) But oh I love it so much and wouldn't change it for the prettiest tree in the whole world!! :)


These are some of my favorites, like this Santa made out of my daughter's hand print on her first year of preschool. 


My husband's aunt gave us a beautiful Christmas present hand made by herself. We just loved it so much. It was the inspiration and focal point for the fire place decoration. 


Then I layered a garland made out of cut evergreens from my yard, with gold sprayed painted pine cones and gold ornaments. with some Christmas candles. 


More pine cones and greenery add a Christmas touch to the antique desk. And the red blanket and festive pillow add a splash of color. 


At the entrance of my home I like to display a beautiful nativity set hand painted by my mom. 


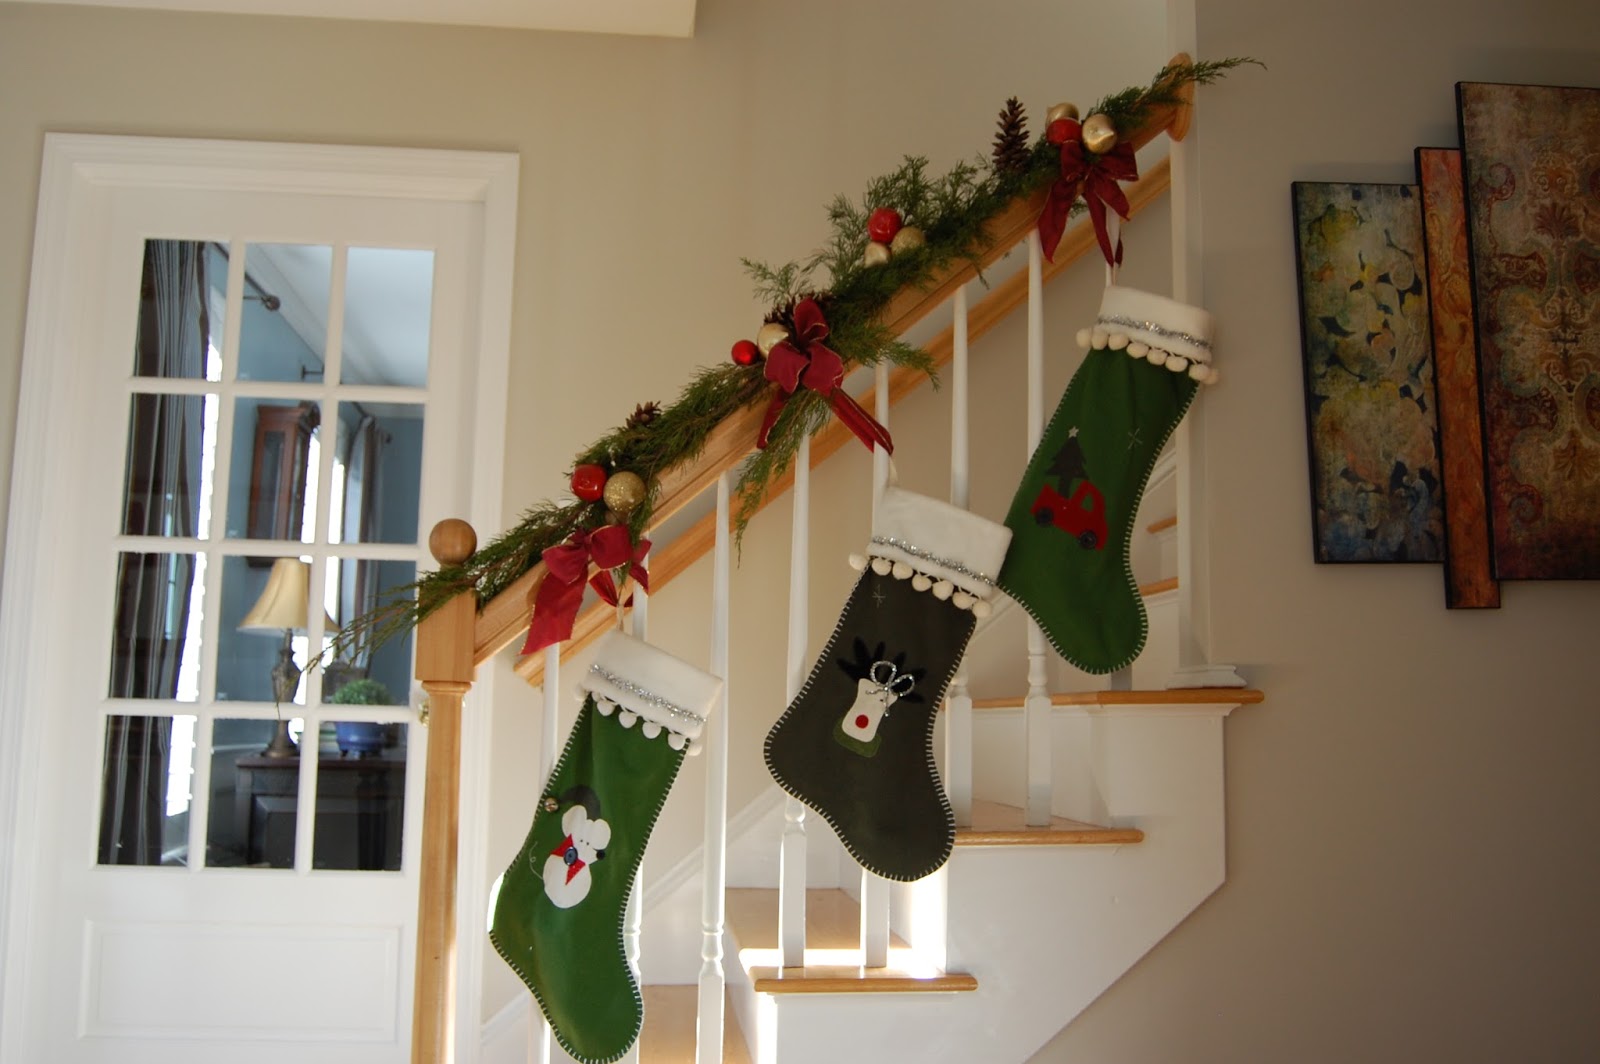
Every year I hang the stockings from the fire place. This year I tried something new and I hang them from the stairs. I made the garland over the railing again, from cut evergreens around the yard and I added some ornaments, pine cones and ribbon for extra texture and color. My oldest son didn't like this idea. He was concerned that Santa will not find the stockings there, so we move them to the fire place on Christmas Eve! 


A fun touch in the kitchen window sill!!


A simple small tree and some pine cones add a festive touch to the powder room.


This is a divine room spray that a friend of mine made. 


Wow, this ended up being a pretty long post! So I am going to save the upstairs for tomorrow! 
Thank you for visiting!!

Sharing With: